30-day money-back guarantee on every Rad Mag mount.Details ›
Uniden R1 R3 R4 R7 R8 - Non-Powered Mount & Receiver

Uniden R1 R3 R4 R7 R8 - Non-Powered Mount & Receiver

$39.00
Sale price  $39.00 Regular price  $69.00
Skip to product information
Uniden R1 R3 R4 R7 R8 - Non-Powered Mount & Receiver

Uniden R1 R3 R4 R7 R8 - Non-Powered Mount & Receiver

$39.00
Sale price  $39.00 Regular price  $69.00
30-day money-back guarantee
Whats Included

Quick-release upgrade for your existing detector

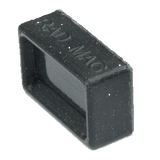
Non-powered receiver
Non-powered receiver3M adhesive pre-applied
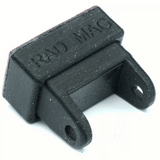
Magnetic Detector mount bracket
Magnetic Detector mount bracketIncluded
Prep wipe
Prep wipeIncluded
30-Day Money-Back Guarantee
Mount it. Drive it. If it’s not right, send it back for a full refund.
Full policy ›
  • Ditches the factory suction cup for high-strength magnetic grip
  • Instant on/off - no fiddling with clips or screws
  • Pairs with your existing hardwire kit
Product Highlights

  • Industrial Strength: N45 magnetic grip rated for 4.5kg of force - maximum security without the bulk.

  • ASA Construction: 3D printed in premium ASA for ultimate heat resistance on your windscreen.

  • Discreet & Compact: Minimalist footprint from the exterior for a clean, professional "OEM" look.

What's Included
  • Non-Powered RAD MAG Windshield Receiver (with pre-applied 3M adhesive).

  • Uniden R-Series compatible magnetic mount bracket.
  • Isopropyl alcohol prep wipe - to clean the windscreen for the strongest possible bond.
Do I have the right parts?
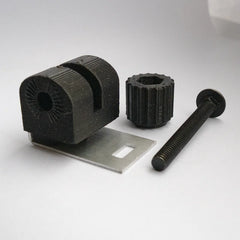
The pivot bracket you transfer across

The pivot bracket you transfer across

You transfer one part - the pivot bracket (bolt, square-neck screw and swivel arm) from your original suction-cup mount. It takes about two minutes, no special tools. Do not have it? Get the Swivel Bracket Kit ›

Install Guide

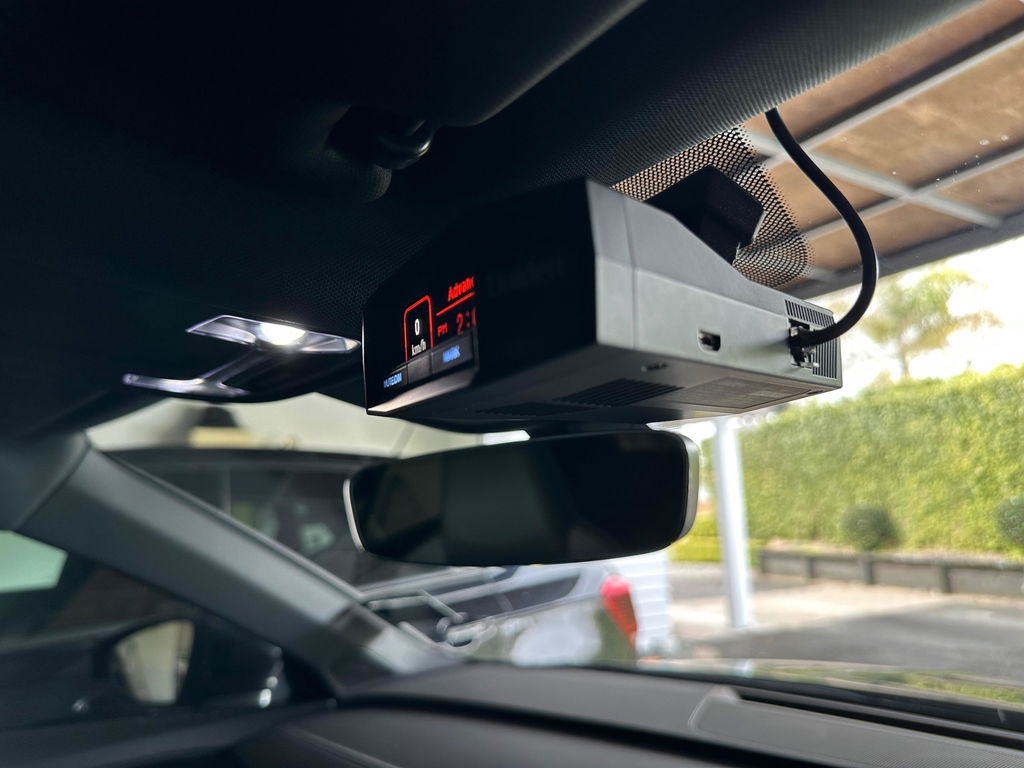
Important - this mount is direction-specific. Fit it with the lip facing back toward the driver. The lip is what latches the detector onto the receiver: fitted the wrong way round it will still snap on, but it will not hold the detector.

  1. Transfer your bracket hardware. Take the detector off its factory sticky cup and move the Uniden mount bolt, square-neck screw and pivoting bracket across to the RAD MAG mount. Don't have them? They're in our Uniden Swivel Bracket Kit.
  2. Fit the mount, lip toward the driver. Screw the RAD MAG mount onto your detector's existing mounting thread. Check the orientation before you tighten: the lip faces the driver, and the cable cut-out in the arm lines up with your detector's power port.
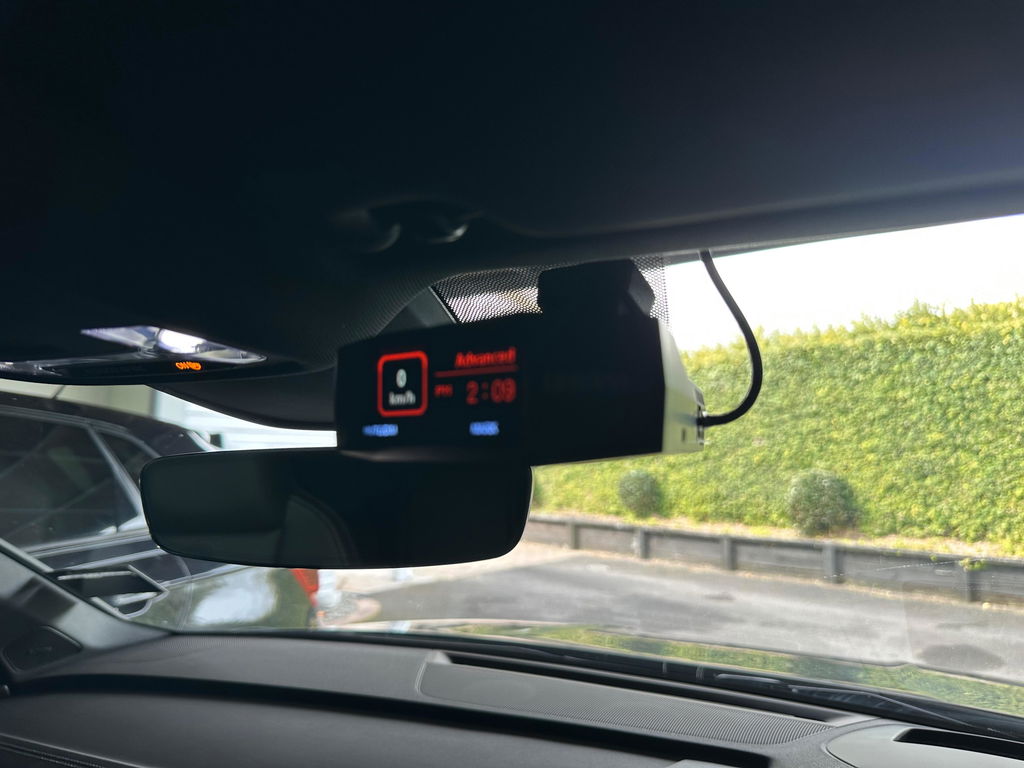
  3. Dry-fit before you stick anything. With the adhesive backing still on, hold the receiver against the glass, clip the detector on and check it sits level and latches. Leave at least 2.5 cm of clearance above the front of the detector so it has room to tilt up and unlatch.
  4. Clean the glass, then press the receiver on. The glass should be warm to the touch (20-38 degrees C; use the demister or a hairdryer on a cold day). Wipe the spot with the included alcohol wipe and buff it dry immediately with a clean microfibre cloth (don't let it air dry). Peel the backing and press firmly from the centre outward for at least 30 seconds. Press the centre only, pressing on the logo side can crack the plastic.
  5. Wait before you load it. Leave the receiver undisturbed on the glass for 36 hours before hanging the detector on it. That wait is the 3M VHB adhesive curing before it takes the weight and leverage of the detector.
  6. Snap on, snap off. The magnets self-align when you clip the detector on. To remove, tilt the front of the detector up to release the lip, then twist and pull it off the magnet.

Full step-by-step guide with video: Install the RAD MAG Detector Mount

30-day promise Risk-free trialNZ madeSnap-on in secondsDetails ›
Best bond, first time

A rock-solid hold starts with clean glass

Every RAD MAG receiver mount now ships with a professional isopropyl alcohol prep wipe - so the adhesive grips bare glass instead of dust and film. One quick wipe means the strongest, longest-lasting bond.

Stronger bond
Easier install
Right first time
Your 30-second windscreen prep
1
Wipe the spot
Clean the mounting area with the included isopropyl wipe.
2
Let it dry fully
Wait until the glass is completely dry - the alcohol flash-evaporates in seconds, zero residue.
3
Press & mount
Onto fully dry glass, press the 3M VHB firmly from the centre for the strongest bond.

You may also like